How to Clean GORE-TEX Footwear: Washing, Drying and Re-Proofing Steps from Gore
Gore's own care page gives a short, specific routine for GORE-TEX shoes and boots: pull the laces and footbeds, brush off dirt, wash by hand in lukewarm water with a little liquid detergent, dry naturally away from direct heat, and re-apply a water-based DWR spray once water stops beading. Here is the full procedure as the brand states it, including what not to use.
Watch How to Dry Boots in the Wild
The recording belongs to Silvercore Outdoors, not to this publication, and it plays from YouTube: opening it lets YouTube see the request.Watch on YouTube instead.
Contents
Waterproof sneakers (trainers) and hiking boots with a GORE-TEX membrane need very little fuss to stay in working order, according to the brand itself. Gore's footwear care instructions lay out a three-part routine — wash, dry, and re-apply a durable water repellent — and say that looking after the shoes this way pays off in performance and lifespan.
The brand frames regular care as more than cosmetic: on its general care page, Gore says routine washing, drying and DWR renewal goes together with continued coverage under its GUARANTEED TO KEEP YOU DRY promise. It also directs owners to a second authority alongside its own steps: the footwear manufacturer's own instructions, which usually sit on an inside tag.
Step One: Empty, Brush and Wash by Hand
Gore's procedure starts with emptying the shoe, then a gentle hand wash. The brand's steps, in order:
- Remove the laces, then shake out sand, gravel, and dirt from inside the footwear.
- If possible, remove and shake out the foot bed or insole.
- Brush off loose dirt with a sponge or brush.
- Wash with lukewarm water and a small amount of liquid detergent.
- For leather shoes, check the manufacturer's instructions.
- Don't use bleach, and don't wash in the washing machine.
The washing machine is the key exclusion here. Gore's stated instruction for these shoes is hand washing, with liquid detergent rather than bleach — and the brand's stain advice below reinforces the liquid-detergent point.
Step Two: Dry Slowly, Away from Direct Heat
Gore specifically warns about drying. The brand says to dry the shoes naturally at moderate temperatures and avoid direct heat — so no radiator, no heater vent, no hot air directed at the upper. It adds that footwear shouldn't stay wet for long, and notes one machine as an exception: convection-style boot dryers, which it says work well.
Step Three: Re-Apply a Water-Based DWR Spray
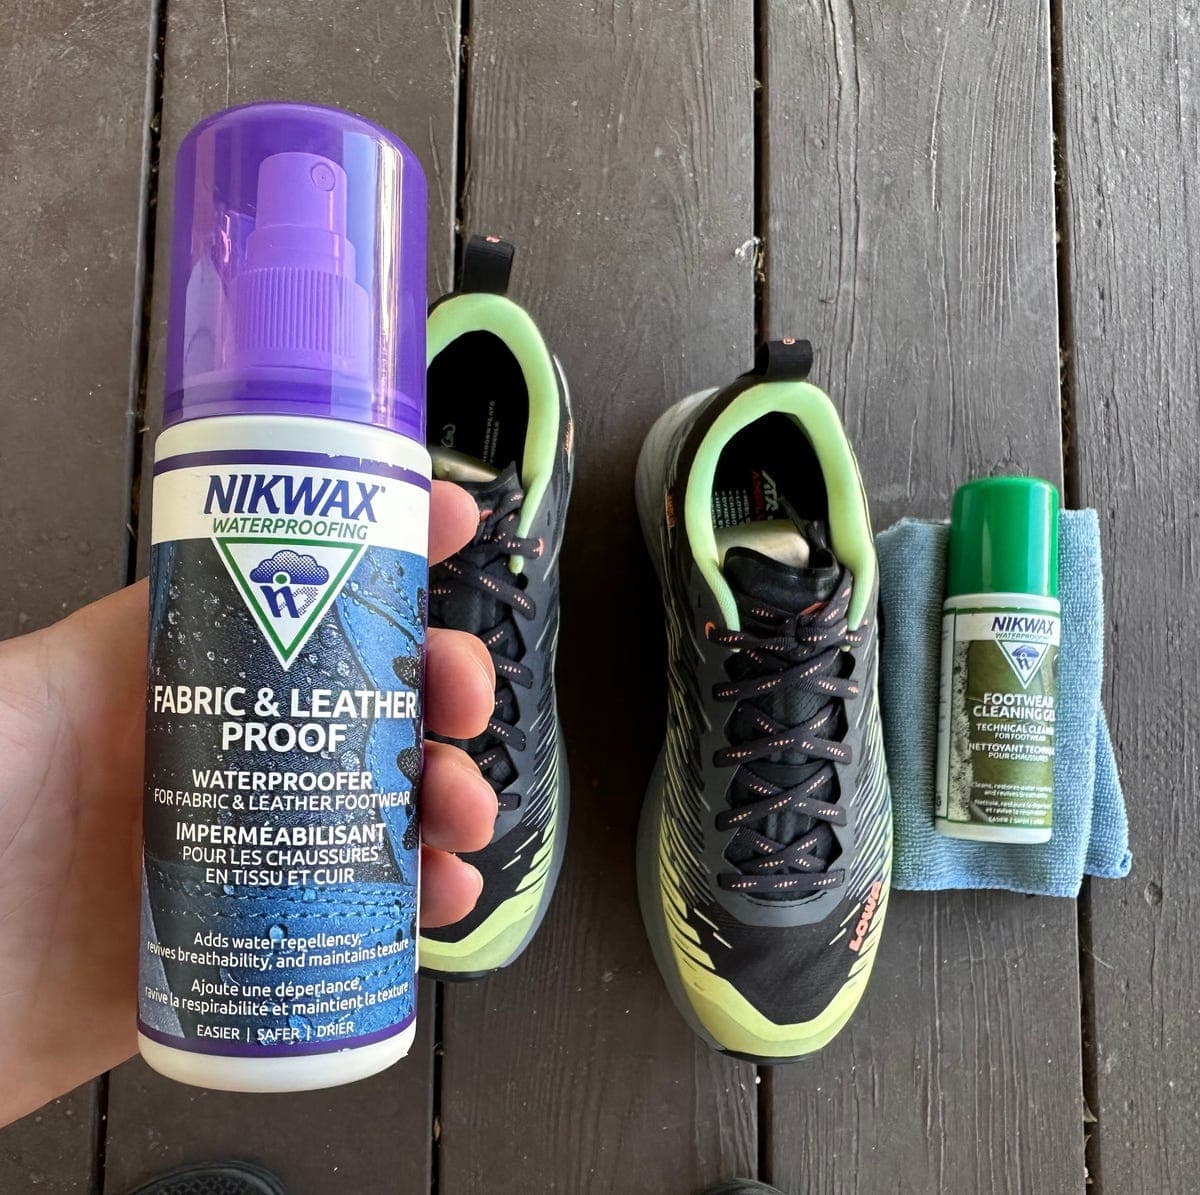
The outer fabric of the shoe carries a durable water repellent (DWR) treatment, and it wears off with use. Gore's trigger for re-treating is simple: once water no longer beads and runs off the surface, it is time to re-apply. The brand specifies a water-based restorative sold as a pump-spray.
What Not to Use: Waxes, Greases and Stain Removers
Two prohibitions on the footwear page deserve their own mention. First, Gore tells owners not to use waterproofing waxes or greases, which it says can affect the shoe's breathability. Second, on stains, the brand says to follow the footwear manufacturer's instructions and use only recommended products, and adds that it does not recommend stain removers, only liquid detergents.
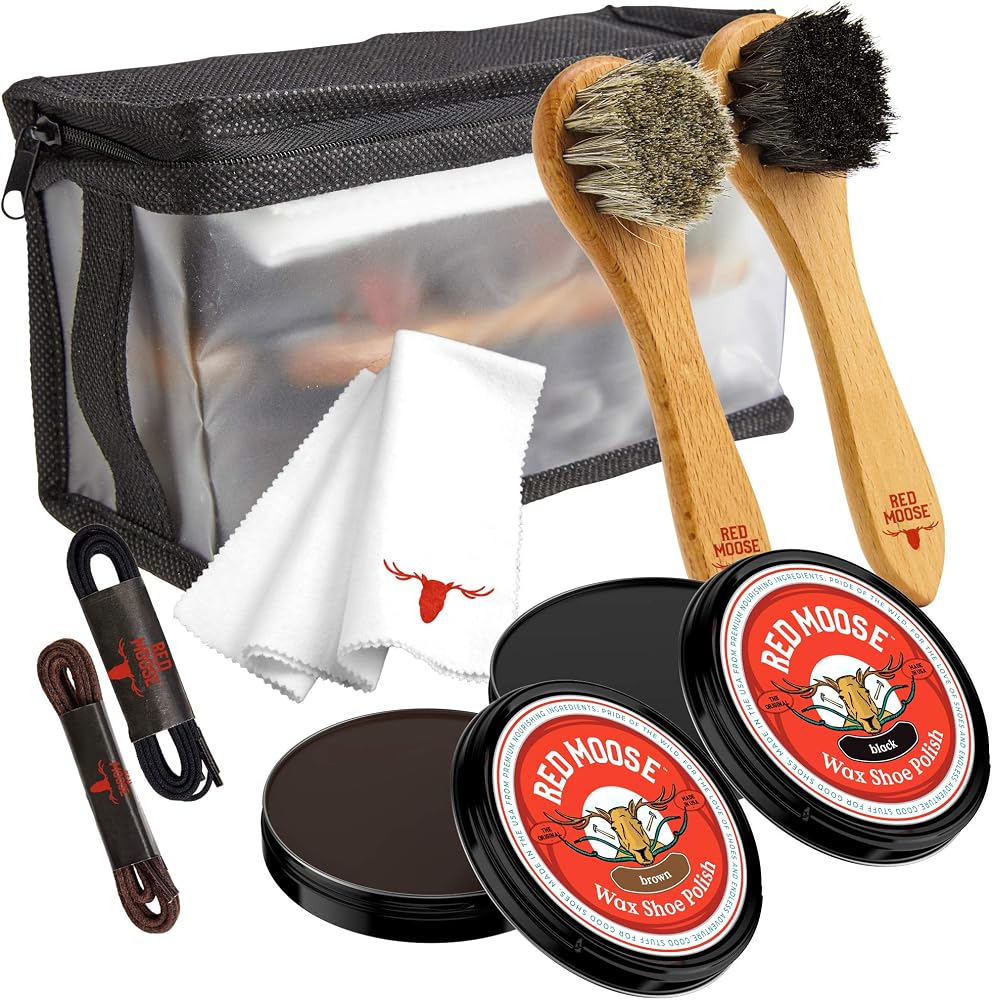
Gore's no-wax rule differs from the common wax- or grease-proofing practice for leather boots; for a GORE-TEX shoe, the brand's position is that the spray-on, water-based route is the one to take. If the upper is leather, its repeated instruction is to defer to the footwear manufacturer's guidance.
The Kit, and the Limits of the Instructions
Gore lists the tools as modest: a cloth or brush, lukewarm water, and — both optional — a boot drier and a water repellent treatment. The routine asks for nothing specialized beyond the DWR spray.
A note on scope: these are the brand's care instructions for GORE-TEX footwear, not a repair manual. Gore keeps separate pages for repair information and for its guarantee, and its care pages point there. Also worth keeping straight: the washing steps and the DWR re-application serve different purposes. Washing removes dirt; the spray restores the water-repellent finish on the outside. A freshly washed shoe can still need a DWR touch-up, and re-spraying will not clean a dirty upper.
How to Check the Result
After cleaning and drying, run the beading check Gore itself describes: apply water to the outer fabric, and if it no longer beads and runs off, the brand's stated signal is to re-apply a durable water repellent — a water-based restorative sold as a pump-spray. Before you wash any pair, read the inside tag or the footwear manufacturer's care page — for leather uppers in particular, the brand's own instructions take precedence over the general routine.
From the source
Written from the pages listed above and checked by the editors. Spotted a mistake? Write to us: corrections keep the address and the first publication date.
Read next
More in CareHow to Care for Blundstone Boots: The Brand's Own Cleaning Steps for Leather, Suede, Nubuck and Canvas
Blundstone's official boot-care page sets out cleaning steps by material — leather, suede, nubuck and canvas — plus sole cleaning, drying and storage rules. Here is what the brand instructs, its cautions (no artificial heat, no tumble dryer for canvas, patch-test polish), and where the advice stops.
Clean, Condition, Protect: What Red Wing Says Its Leather Care Products Do, and Which Conditioner It Assigns to Oil-Tanned Leathers
Red Wing organizes its shoe care line around three steps — Clean, Condition, Protect — and names specific leathers for one conditioner, All Natural Boot Oil. Here is what the brand's product pages say each product type is for, the darkening caveat the brand attaches to the boot oil, and the prices the brand listed as of 17 September 2026. The brand's own framing, not an independent test.
How to Replace a Zipper Slider: Patagonia's Own Repair Guidance, Zipper Types, and Where the Brand Says to Stop
A stuck or separating zipper doesn't have to retire a jacket. Patagonia's care-and-repair guide walks through identifying the zipper type, gathering supplies, replacing a slider, and — importantly — where the brand says a DIY fix ends and professional repair begins. Here's what that guidance covers, in the brand's own words.